Picking the right hiking pole comes down to matching terrain, pack weight and your goals. This five‑step decision guide walks day hikers, backpackers and beginners through use case, material, sizing, grips/locks and tips, so you can test models quickly in store and leave with a pole you can trust. Includes a printable in‑store checklist and a short comparison table to speed decisions.
Note
- Decide use case first (day hike, ultralight, thru‑hike, alpine) then pick material and lock type to match.
- Set baseline length with the 90° elbow rule, then shorten slightly uphill and lengthen slightly downhill (common rule: ~1–2 in.).
- Test locks, tip feel and straps in store; prioritize repairability for long treks and weight for ultralight miles.
How to choose the right hiking pole: 5 steps
This section follows the interactive decision flow: 1) define use case, 2) pick material, 3) size it, 4) choose grip/strap and lock style, 5) confirm tips and accessories. Use the short checklist below when trying poles in store.
1) Map your use case
Match the pole to what you actually do:
- Day hikes & light scrambling: compact folding or two‑piece telescoping poles; aim for a balance of weight and durability.
- Ultralight backpacking: prioritize carbon or carbon/hybrid shafts for the lowest weight—confirm replaceable tips and acceptable flex.
- Thru‑hiking/long distances: favor aluminum or reinforced hybrids for repairability and durability on rough trails.
- Alpine/glacier travel: choose strong aluminum shafts, secure external locks and metal‑reinforced tips suited for crampon contact and rope work.
2) Choose material: carbon, aluminum or hybrid
Carbon saves weight and dampens vibration; aluminum is tougher in rocky or alpine terrain and easier to field‑repair. Hybrids aim to blend both. These tradeoffs are summarized in the comparison table below; authoritative shopping guides (REI and Black Diamond) discuss these same points in detail.
See manufacturer’s sizing and repair options before you buy—replaceable tips and threaded ferrules matter for long hikes (REI guide).
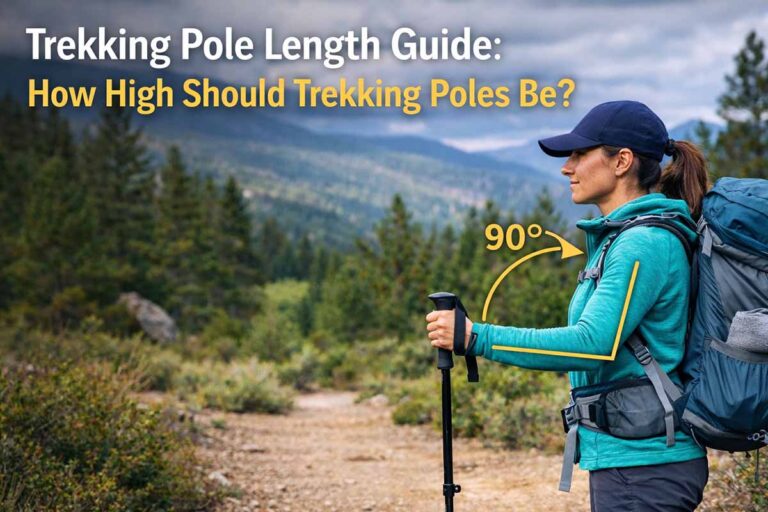
3) Length & sizing (90° elbow rule)
Stand with shoes on, hold the pole vertically and adjust the grip so your elbow is about 90°. That baseline works for most walking; shorten about 1–2 inches uphill and lengthen about 1–2 inches downhill as a common, practical rule of thumb (REI guide).
Telescoping poles provide micro‑adjustments; Z‑style folding poles pack smallest and deploy quickly. Fixed‑length shafts are common in ski systems.
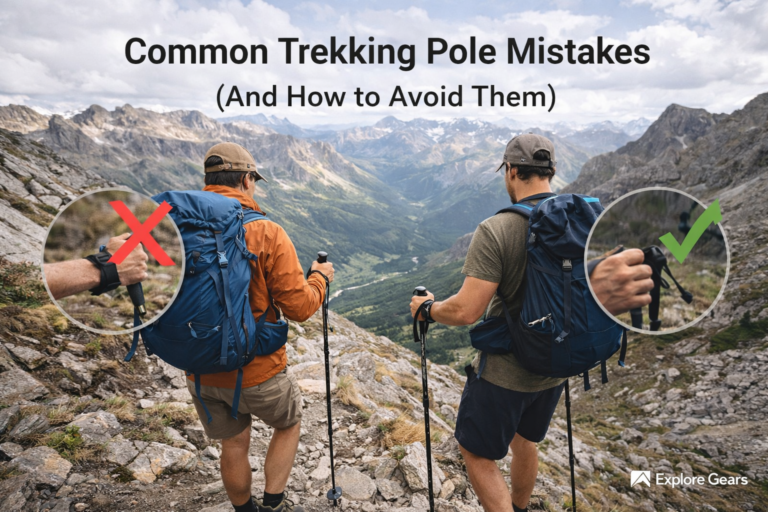
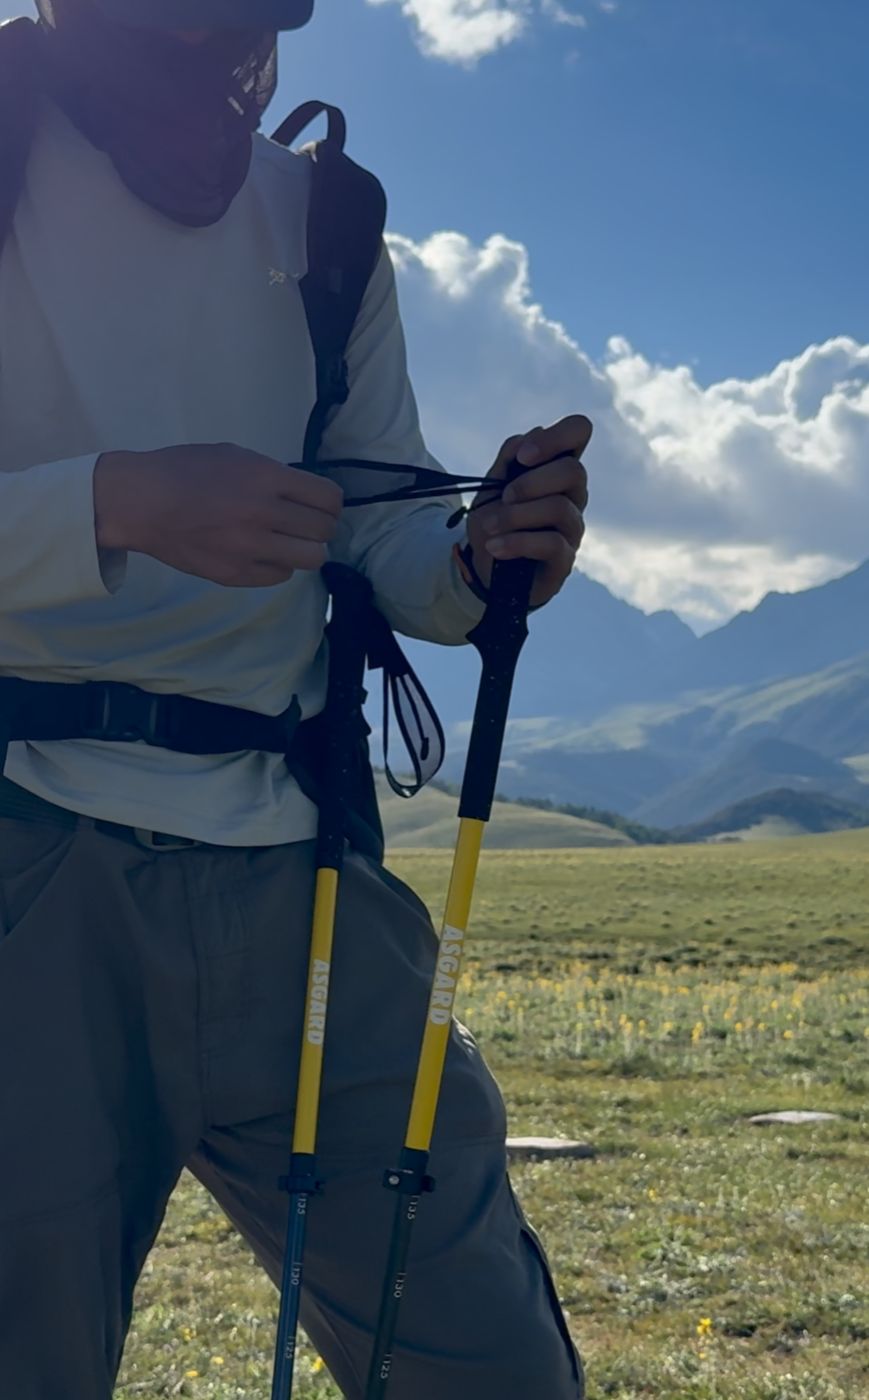
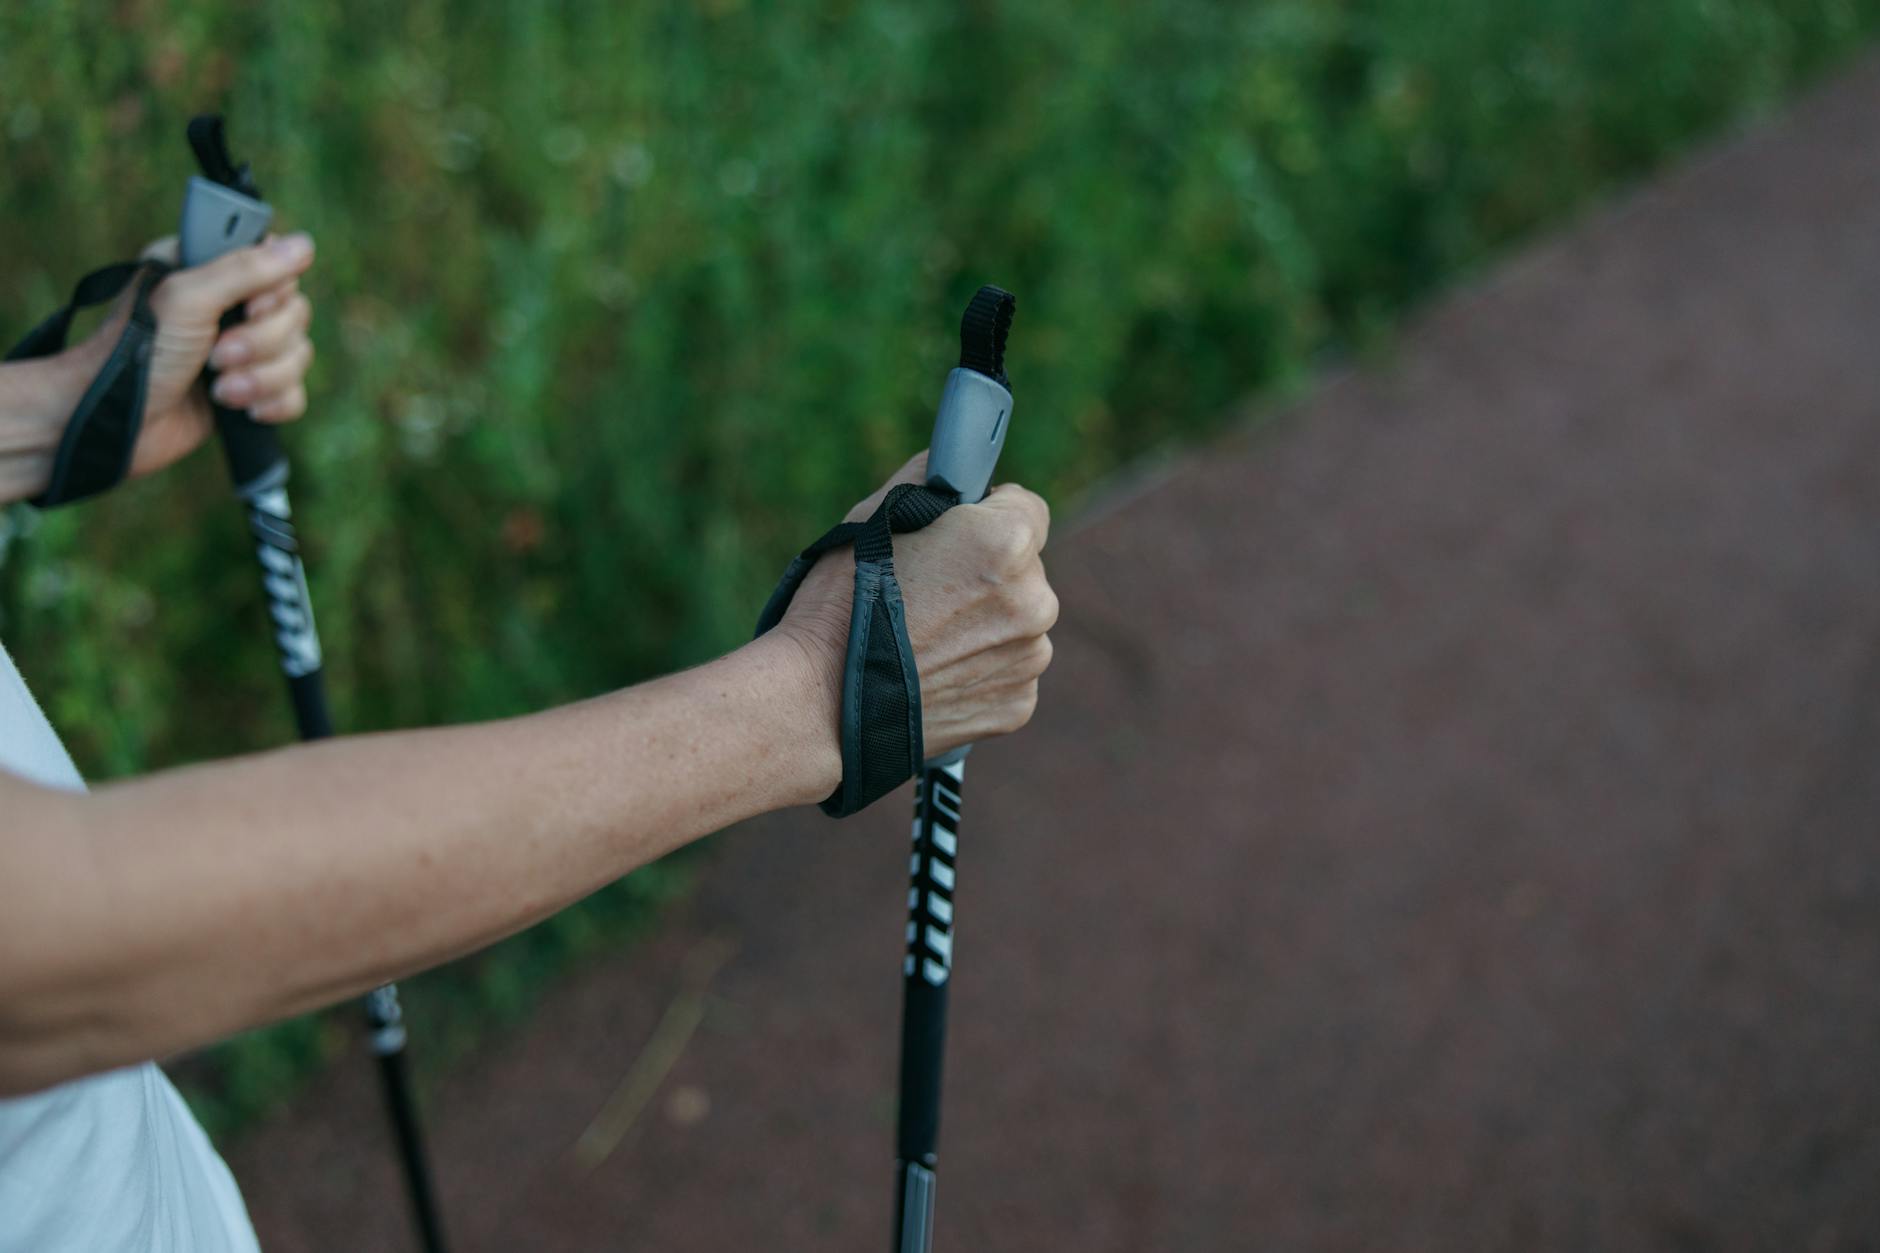
4) Grip, strap and locking systems
Grip material matters by conditions: cork breathes and molds to your hand (best for long days), foam is light and soft (shorter hikes), and rubber grips give traction in wet/cold weather. Test straps with a loaded pack, good straps transfer load to your forearm without forcing a tight grip.
Lock types: external lever locks (FlickLock style) are fast and reliable in cold/dirty conditions; internal twist locks are slightly lighter but can slip if contaminated—check operation in the store and after a quick dirt rub to simulate trail grime (Black Diamond advice).
5) Tips, baskets and shock absorbers
- Tips: carbide for rock/ice; rubber caps for trail protection and quieter walking.
- Baskets: large for snow/mud, small for dry trails.
- Shock absorbers: reduce jolt but can slightly reduce stability when carrying heavy loads, avoid if you expect heavy packs.
In‑store checklist
- Lock test: extend/collapse each segment—no slipping, equal force to lock/unlock.
- Grip & strap: walk with a loaded pack for several minutes; note hot spots.
- Noise & tip feel: swing at walking pace and tap on rock to judge vibration and tip traction.
Decision flow: pick use case → material → lock type → tip/basket. For compact packing options see our collapsible trekking poles picks and compare to your needs.
If you expect rocky, technical trails or heavy packs, favor aluminum and threaded/replacable tips; for low‑weight mileage choose carbon but carry spare tips and accept limited trail repairs.
For more on how to use poles once you’ve bought them, see our how to use trekking poles guide.
Comparison: Carbon vs Aluminum vs Hybrid
| Material | Weight | Durability | Price | Repairability |
|---|---|---|---|---|
| Carbon | Lightest | Good but can fracture | Higher | Limited on-trail repair |
| Aluminum | Heavier | Very durable; bends before breaking | Moderate | Easy to field repair; replace tips |
| Hybrid | Midweight | Balanced | Variable | Depends on design; check ferrules |
FAQ
How do I size trekking poles so my elbow is at 90°?
Stand with shoes on, hold the pole vertical and set the grip so your elbow is about 90°. Use that as your baseline and adjust for uphill/downhill (about 1–2 inches shorter uphill, 1–2 inches longer downhill). For a quick online calculator try Montem’s height calculator for a starting number (Montem calculator).
Should I buy carbon or aluminum trekking poles for long hikes?
Choose carbon if you prioritize weight savings and mostly walk on smoother trails. Choose aluminum for long hikes where repairability, tip options and rough terrain durability matter more.
How do I test a pole’s locking mechanism in a store?
Fully extend each section, apply firm downward force and twist slightly, locks should hold without slipping. Rub a bit of dirt on the shaft and repeat to simulate trail conditions.
When is one pole enough instead of two?
One pole can work for quick summit pushes, steep scrambles or routefinding where mobility matters. Use two poles for balance on long hikes, heavy packs, or technical terrain.