There is a specific kind of heartbreak known only to outdoor photographers. It is not the heartbreak of a missed summit or a rained-out weekend. It is the sound of expensive glass meeting granite.
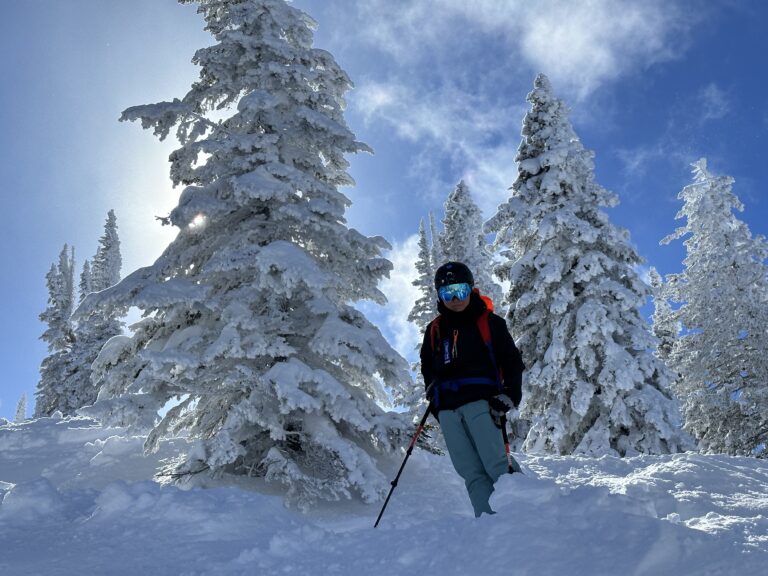
I remember the first time I heard it. I was scrambling up a ridge line in the White Mountains, trying to beat the sunset. My DSLR was swinging wildly on a standard neck strap, bouncing against my chest like a pendulum with every step. I leaned in to grab a handhold, swung my body weight forward, and crunch. The lens hood took the brunt of the impact, shattering into plastic shrapnel, but the lesson was immediate and visceral.
That was the day I realized that bringing a camera into the wild is a constant negotiation between accessibility and safety. If you bury your camera deep in your pack, it is safe, but you will never take the photo. If you keep it ready to shoot, you risk destroying it.
Over the last decade of hiking and backpacking with everything from heavy full-frame rigs to compact mirrorless systems, I have obsessed over the logistics of storing camera gear in the field. I want to share what I have learned about keeping your equipment safe without missing the shot.
The Accessibility Paradox
The biggest mistake I see new outdoor photographers make isn’t bringing the wrong lens; it is choosing the wrong carry method. When we talk about storing camera gear on a hike, we are really talking about two different phases: storing it while moving and storing it while packed away.
For the active phase, standard neck straps are the enemy. They cause the camera to swing, which is dangerous for the gear and annoying for you.
My life changed when I stopped using neck straps and started using a capture clip system. This is a metal clip that attaches to the shoulder strap of your backpack. A plate on the bottom of your camera slides into the clip, locking it rigidly against your chest.
This setup keeps the camera accessible – you can grab it in two seconds – but it prevents that dangerous swing. However, it exposes your gear to the elements. If you are hiking through brush, scrambling over rocks, or facing sudden weather changes, having the camera exposed on your chest requires hyper-awareness.
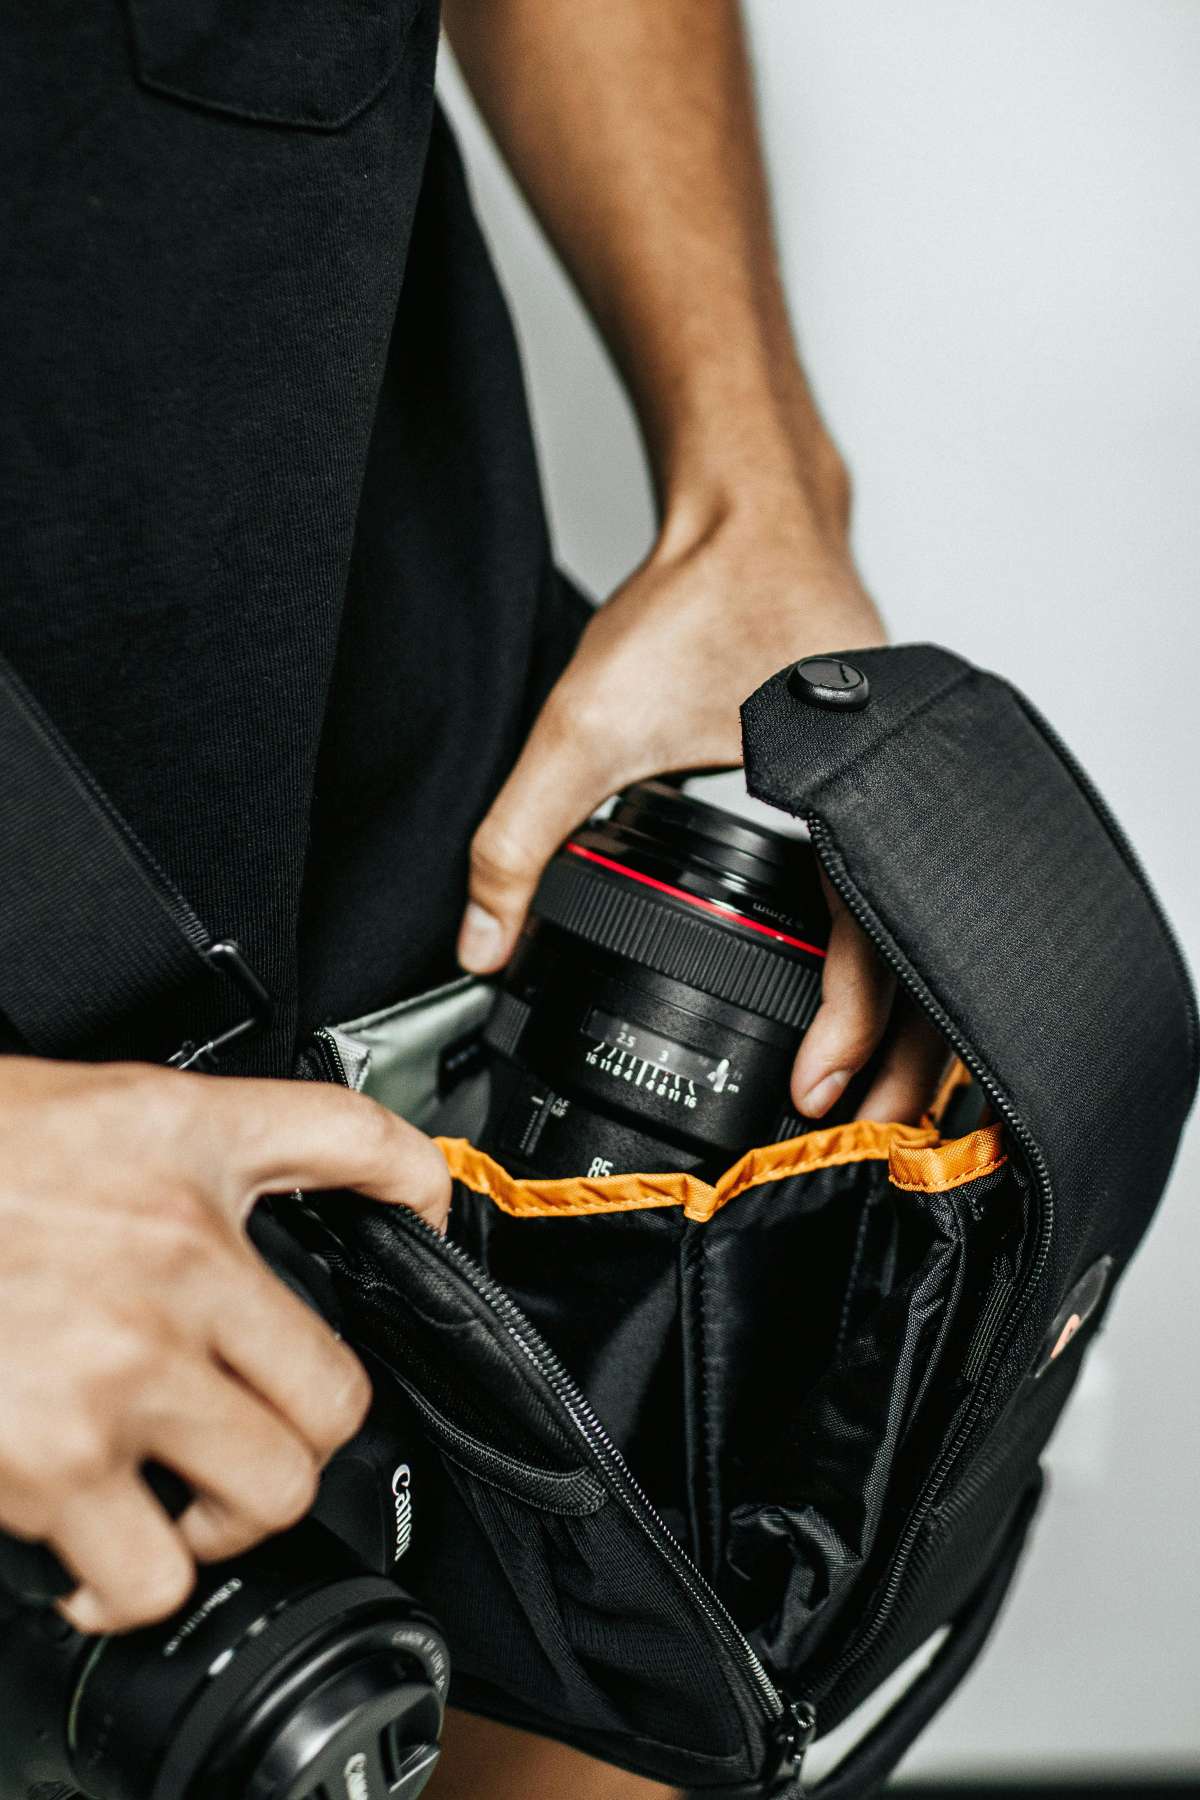
If a clip feels too exposed for the terrain, I recommend a chest harness or a “holster” style bag that mounts to your hip belt. These offer a middle ground. They provide a padded shell for the camera while keeping it within reach. I used a chest holster for a week-long trip in the rainy Pacific Northwest. It looked a bit goofy, but my camera stayed dry, and I didn’t miss the elk crossing the trail at dawn.
After the experience, I realized having the best outdoor gear is everything before you head out.
Packing It Away: The Internal System
There comes a point on every hike where the camera needs to go inside the pack. Maybe the rain has turned torrential, or you are tackling a Class 3 scramble where you need both hands and zero distractions.
When storing camera bodies inside a backpack, do not rely on wrapping them in a puffy jacket. I tried this method for years. It works until you need your jacket, or until your water bladder leaks.
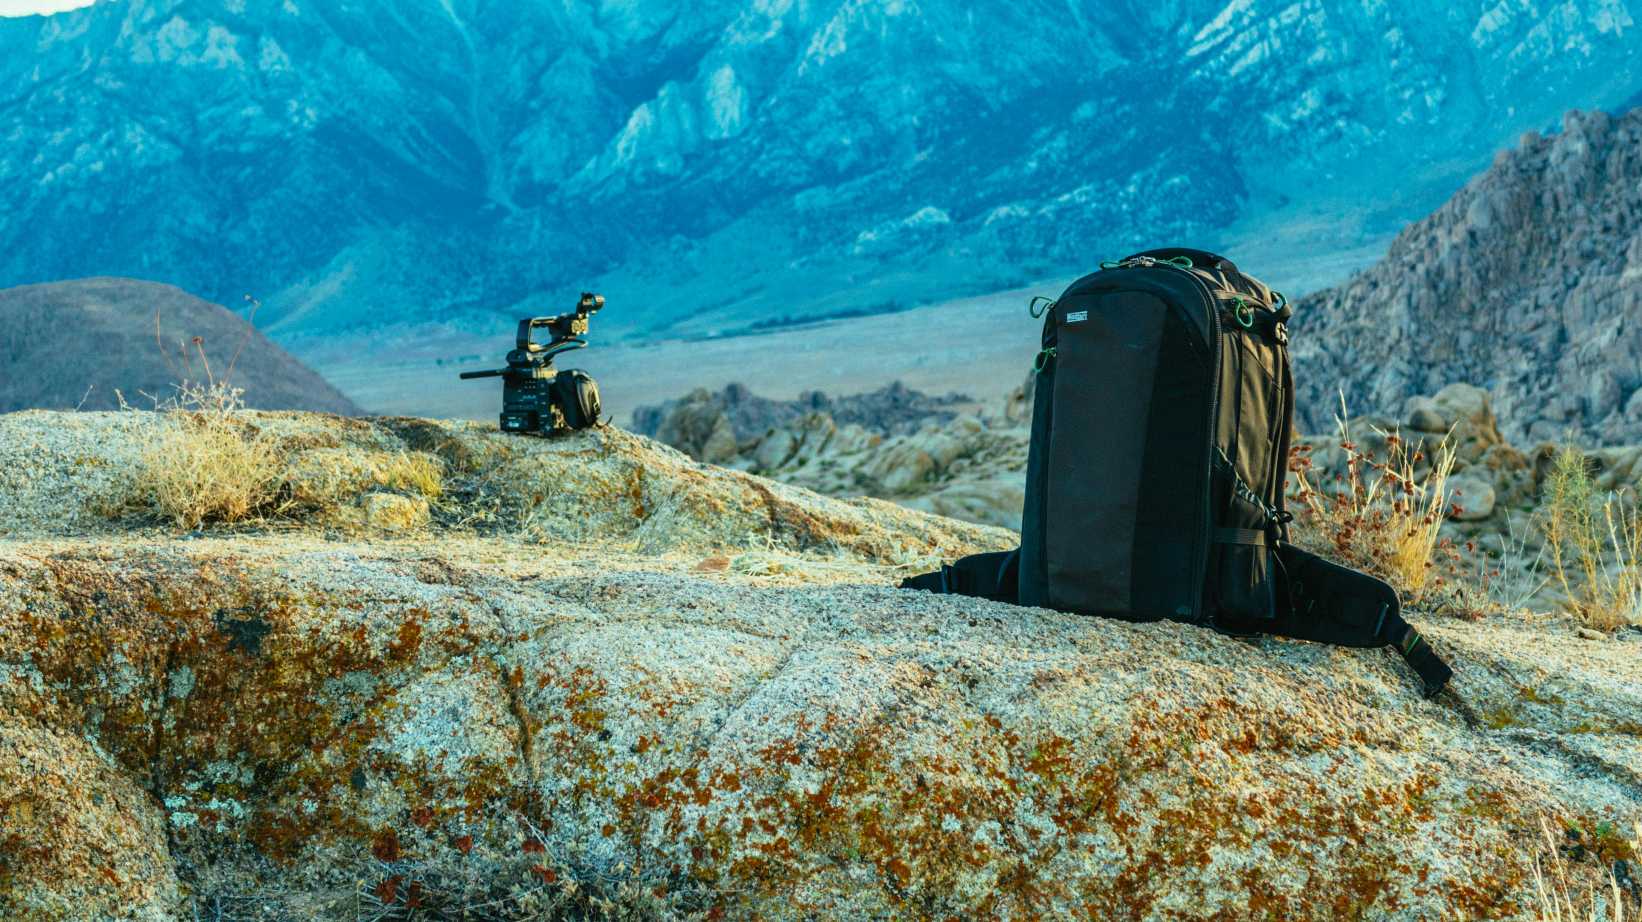
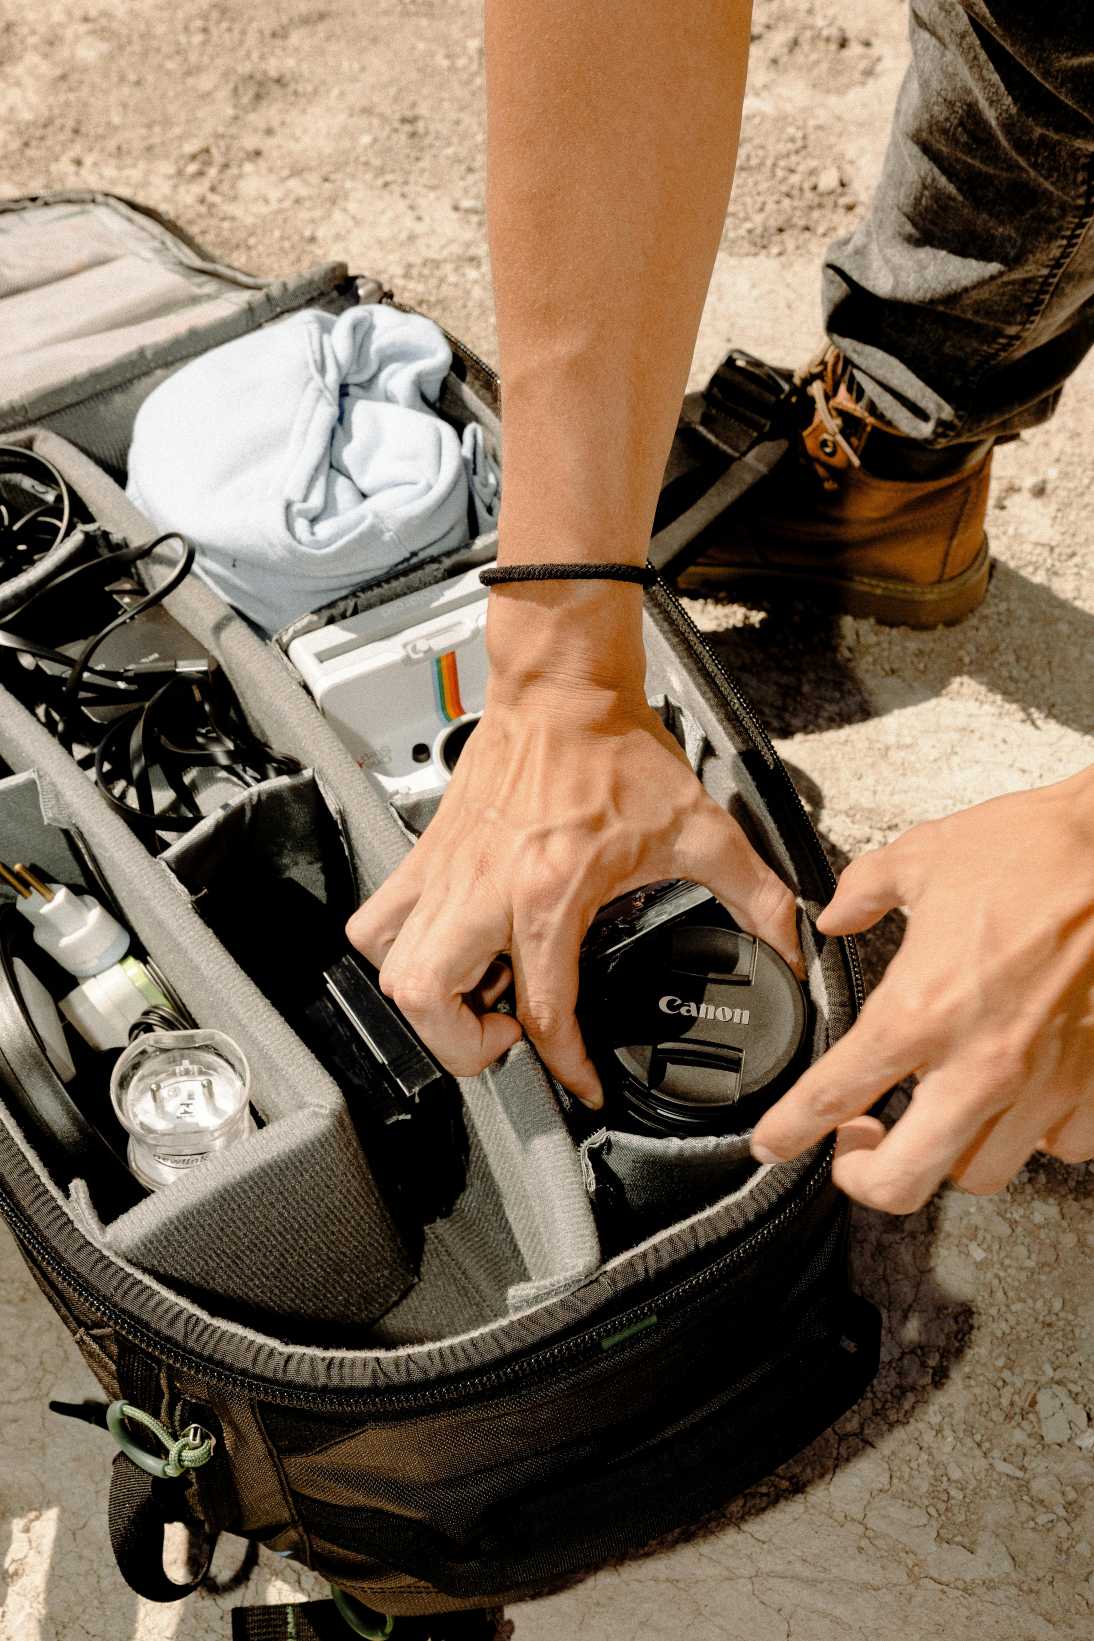
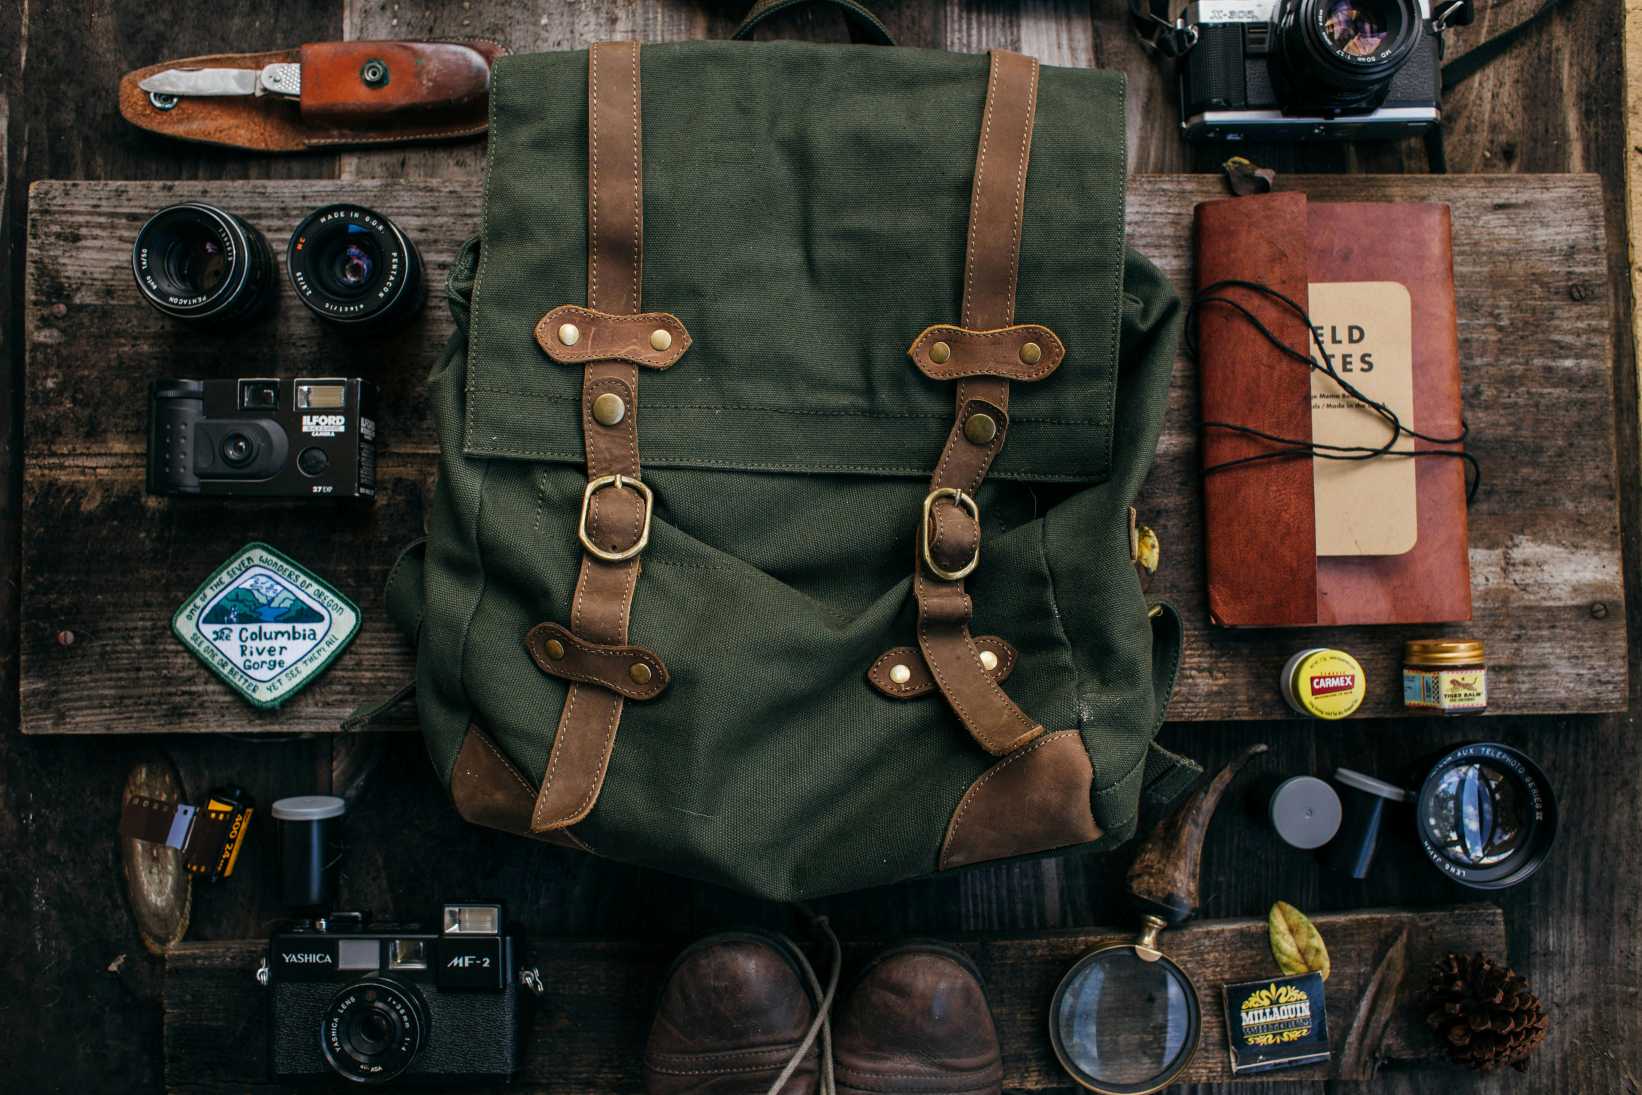
The best investment you can make is a dedicated camera insert or “cube.” These are padded, structured boxes that fit inside your hiking backpack. They turn a standard Osprey or Gregory pack into a camera bag. The key here is isolation. You want your camera gear isolated from your dirty socks, your food, and most importantly, your hydration system.
I organize my cube so that the camera body is in the center, with lenses on either side acting as buffers. This creates a solid block of gear that doesn’t shift as I hike. If you are trying to save weight and don’t want a full cube, look into neoprene wraps. These are simple square cloths with velcro corners. You can wrap a lens or body like a burrito. It provides scratch protection and light impact resistance without the bulk of a box.
The Invisible Enemy: Moisture and Dust
Physical impact is obvious, but moisture is the silent killer when storing camera electronics. You don’t need to drop your camera in a river to ruin it. High humidity, condensation, and sweat can wreak havoc on internal circuits and lens elements.
Here is a rule I live by: never put a wet camera into an airtight bag.
I learned this the hard way after a rainy hike. I wiped the outside of my camera, put it in a dry bag, and sealed it up. The remaining moisture trapped inside the bag turned into a sauna as soon as the sun hit my pack. When I opened it hours later, the lens was fogged up on the inside.
To manage moisture, I always keep a few large silica gel packets in my camera cube. You can buy these, or just save the ones that come with new shoes or electronics. They weigh nothing and actively pull moisture away from your gear.
If you get caught in a downpour, a simple plastic rain cover for your backpack is your first line of defense. But for the camera itself, if you are keeping it on a clip or strap, use a “shell” cover. These are form-fitting rain jackets for your camera. They allow you to keep shooting in a drizzle without water seeping into the buttons and dials.
Dust is the other nemesis, particularly in the desert. When storing camera lenses in your pack, keep the rear lens caps on tight. Dust loves to work its way into the sensor chamber. If you have to change lenses on a dusty trail, never do it with the camera facing up. Take your pack off, use your body as a windbreak, point the camera sensor strictly toward the ground, and make the swap as fast as possible.
Cold Weather Considerations
Hiking in the winter changes the rules for storing camera batteries. Cold zaps battery life faster than you can imagine. I have had a battery go from 80% to dead in twenty minutes of shooting at 10 degrees Fahrenheit.
When you are hiking in the cold, do not store your spare batteries in your camera bag. Store them in an internal pocket of your jacket, close to your body heat. Keep them warm until the moment you need them.
Furthermore, bringing a freezing cold camera into a warm tent or car creates instant condensation. It is simple physics. The cold glass and metal will pull moisture from the warm air, coating your gear in water.
To prevent this, before you enter a warm space, put your cold camera inside a ziplock bag and seal it while you are still outside. Bring the sealed bag inside. The condensation will form on the outside of the plastic bag, not on your camera. Let it sit for an hour until it reaches room temperature before opening it. This simple trick has saved my gear more times than I can count.
The Philosophy of the "Beater" Camera
There is one final tip regarding storing camera gear that has nothing to do with padding or clips. It is about mindset.
If you are constantly terrified of scratching your gear, you will not enjoy your hike, and you will not take good photos. Gear is meant to be used. A scratch on the paint of your camera body is a badge of honor. It means you were out there.
However, there is a limit. If I am going on a thru-hike where every ounce matters and the conditions will be brutal, I sometimes leave the professional full-frame rig at home. I take a smaller, older body or a high-end point-and-shoot.
This changes how I approach storing camera equipment. With a smaller camera, I can keep it in a shoulder strap pocket or a fanny pack. I am less precious about it. I take more risks, I get closer to the waterfall, and I often come away with better images because I am not paralyzed by the fear of breaking a $3,000 tool.
Finding Your System
There is no single “right” way for storing camera gear on the trail. It depends on your body type, your backpack, your camera size, and the terrain.
If you are a landscape photographer who only shoots at sunrise and sunset, burying your camera deep in your pack during the day is fine. If you are a wildlife photographer or you document the journey, you need that instant access.
Test your system on short day hikes. Load up your pack with the weight you intend to carry. See if the capture clip rubs your collarbone. See if the camera cube eats up too much space for your food. Adjust, refine, and test again.
The goal is to reach a point where you stop thinking about the gear. You want to reach a state where the camera is just an extension of your hand, safe when it needs to be, and ready when the light hits the peaks just right.
The mountains are hard on gear. That is a fact. But if you respect the environment and take a few deliberate steps toward storing camera equipment properly, your gear will survive the journey. And more importantly, you will have the images to prove you were there.
Frequently Asked Questions
Does switching to a mirrorless system actually make storing camera gear easier?
Absolutely. I resisted the switch from DSLR for a long time, but the size difference is massive when you are living out of a backpack.
How do you handle carrying a tripod without it throwing off your balance?
This is a classic struggle. If you strap a heavy tripod to the side of your pack, it pulls you off-center. I try to counterbalance it by storing my heavy water bottles on the opposite side. If your backpack has a center compression strap on the front, storing the tripod there is ideal because it keeps the weight centered along your spine. Just be careful when setting your pack down, as the tripod will hit the ground first.
Is camera insurance actually necessary for hikers?
I consider it a non-negotiable part of my kit. No matter how careful you are with storing camera equipment, accidents happen.
How often should I change the silica gel packets in my camera cube?
If you hike in humid environments often, swap them out every few months.
What is the best way to clean salt spray off a camera after a coastal hike?
Salt is corrosive and scary. I used a slightly damp cloth (fresh water) to wipe down the exterior surfaces first to lift the salt, then immediately dry it with a microfiber cloth. Never rub a dry cloth on a salty lens element, as the salt crystals act like sandpaper. Use a blower first, then a lens brush, and only wipe if absolutely necessary.